Control Form
QuartzIQ's Control Forms streamline the collection of critical information by automating surveys and assessments sent to internal or external stakeholders. Each Control Form can generate multiple form instances, either as one-time assessments or on a recurring schedule, tailored to your organization's needs.
Common uses include third-party risk assessments, annual cybersecurity evaluations, data privacy assessments for projects, compliance checks, and vendor due diligence processes. You can easily create Control Forms within Perimeters, Third Parties, or Projects, ensuring comprehensive and centralized risk oversight across all business relationships and initiatives.
Create a Control Form
In order to create or modify Control Activities in QuartzIQ, you must have the Data Manager role in the related Perimeter.
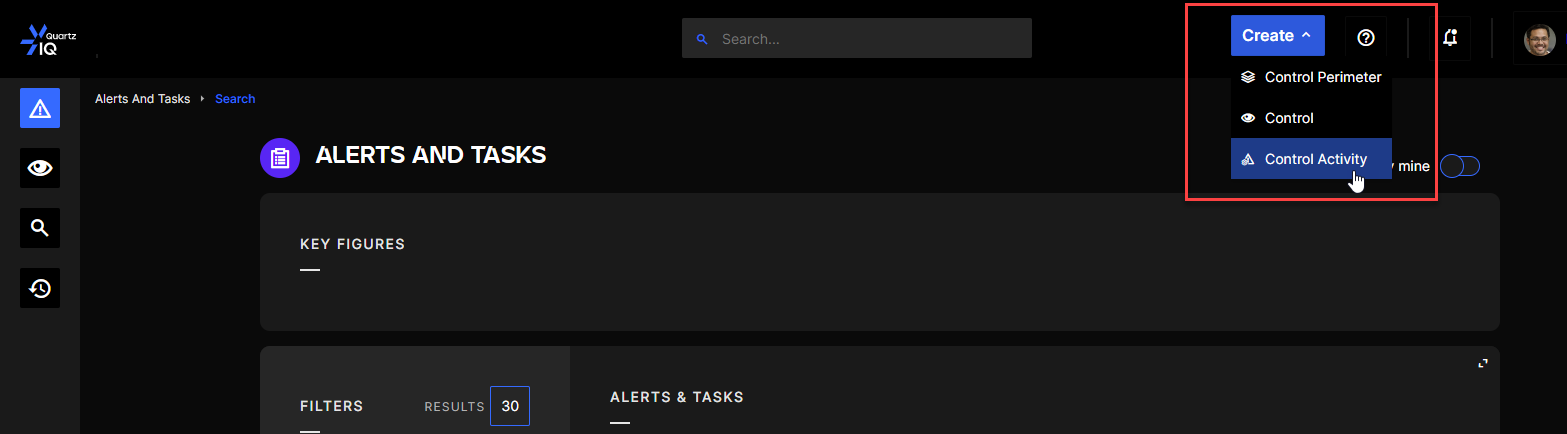
Step 1 To create a Control you can click on the Create button on the top right hand side of the screen and select Control.
Creating a Control
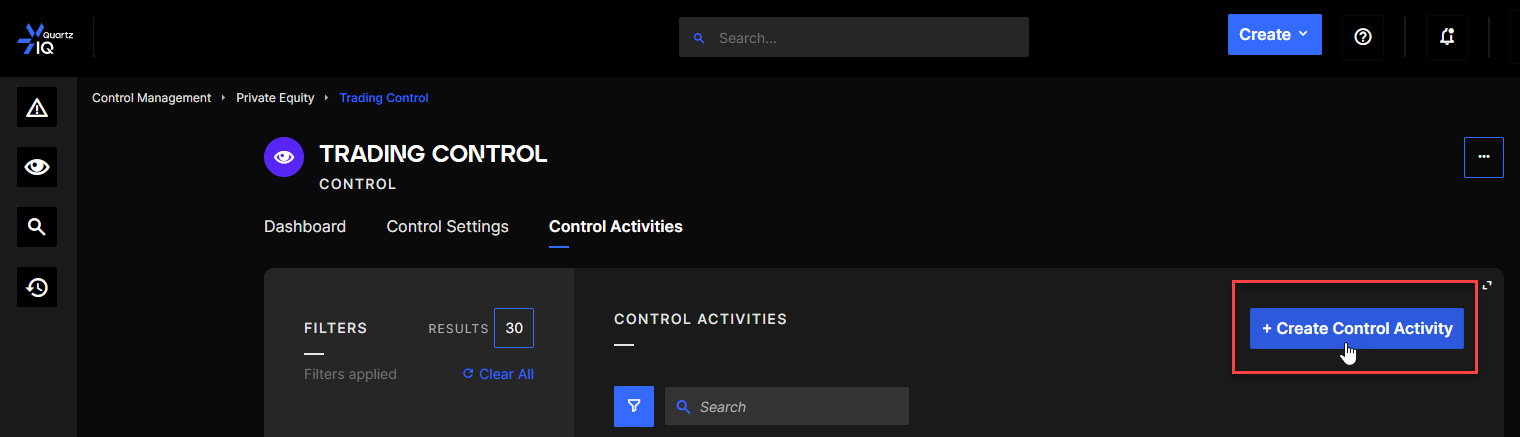
You can also go to the Control tab of a selected Control and click the Create Control button.
Creating a Control from the Control Page
Step 2 Once this is done, you can choose Control Form.
Step 3 You must fill out the form which contain 6 sections.
Then complete the other required fields:
- Choice of the host Perimeter, Third Party or Project (3. Control Perimeter)
- Frequency of execution, not mandatory but can generate forms on a recurring basis (4. Execution)
- Level of severity (5. Handling)
You can optionally add an objective or a procedure (2.), or define a SLA (6. - see Alerts SLA section for more information)
Step 4
When all the required fields are completed, you can click on Save:

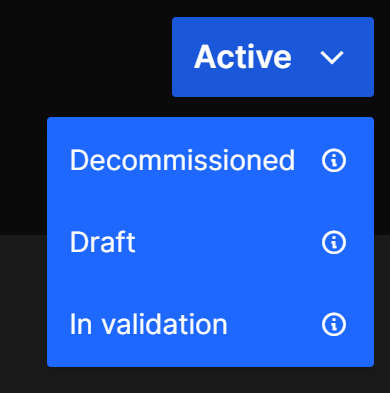
Control Activity Statuses
Control Formshave 4 statuses :
- Draft: new Controls will be automatically created in this status. It will allow you to modify the Control without it being executed.
- In Validation: this status can be used when you are testing your Control purposes and enables the execution. We do not recommend using this status for Control Forms.
- Active: this status enables the execution of the Control normally. If a frequency has been set, it enables it and generates the forms as per the configuration. If not, you can trigger the forms manually (view sections below).
- Decommissioned: this status will disable the execution of the Control.
View of status menu in a Control page
Edit the Form template
Once you Control Form is created, you can edit the Form template that will be sent out to the internal or external stakeholders.
In the Control Form details page, click on ... > Edit Template.
You will then be presented with an editor allowing you to create Forms. From there will be able to use these display blocks, which allow you to define how you want to present the different fields to fill out:
- Page: this allows you to separate your form using different pages.
- Section: this allows you to create different sections within your pages.
- Link: this allows you to display a link in your form.
- Text: this allows you to display a text in your form such as instructions for example.
- Fieldset: this is a special type of display block which allows you to create a set of questions which can be duplicated by the form respondent. For example, you could ask a question with a list of supporting documentation, and add a fieldset containing a FileUpload. Users will be able to add or remove FileUpload blocks as per their need to reply to the question.
You can also add question blocks which are your main questions:
- Dropdown: here you can create dropdowns with different selectable values.
- FileUpload: allows the respondent to upload a file.
- Multiple choices: here you can define a question multiple choices as the answer (checkboxes).
- Textbox: this is the simple question/answer field with a simple textbox for the respondent.
Create a Form/Survey to send out
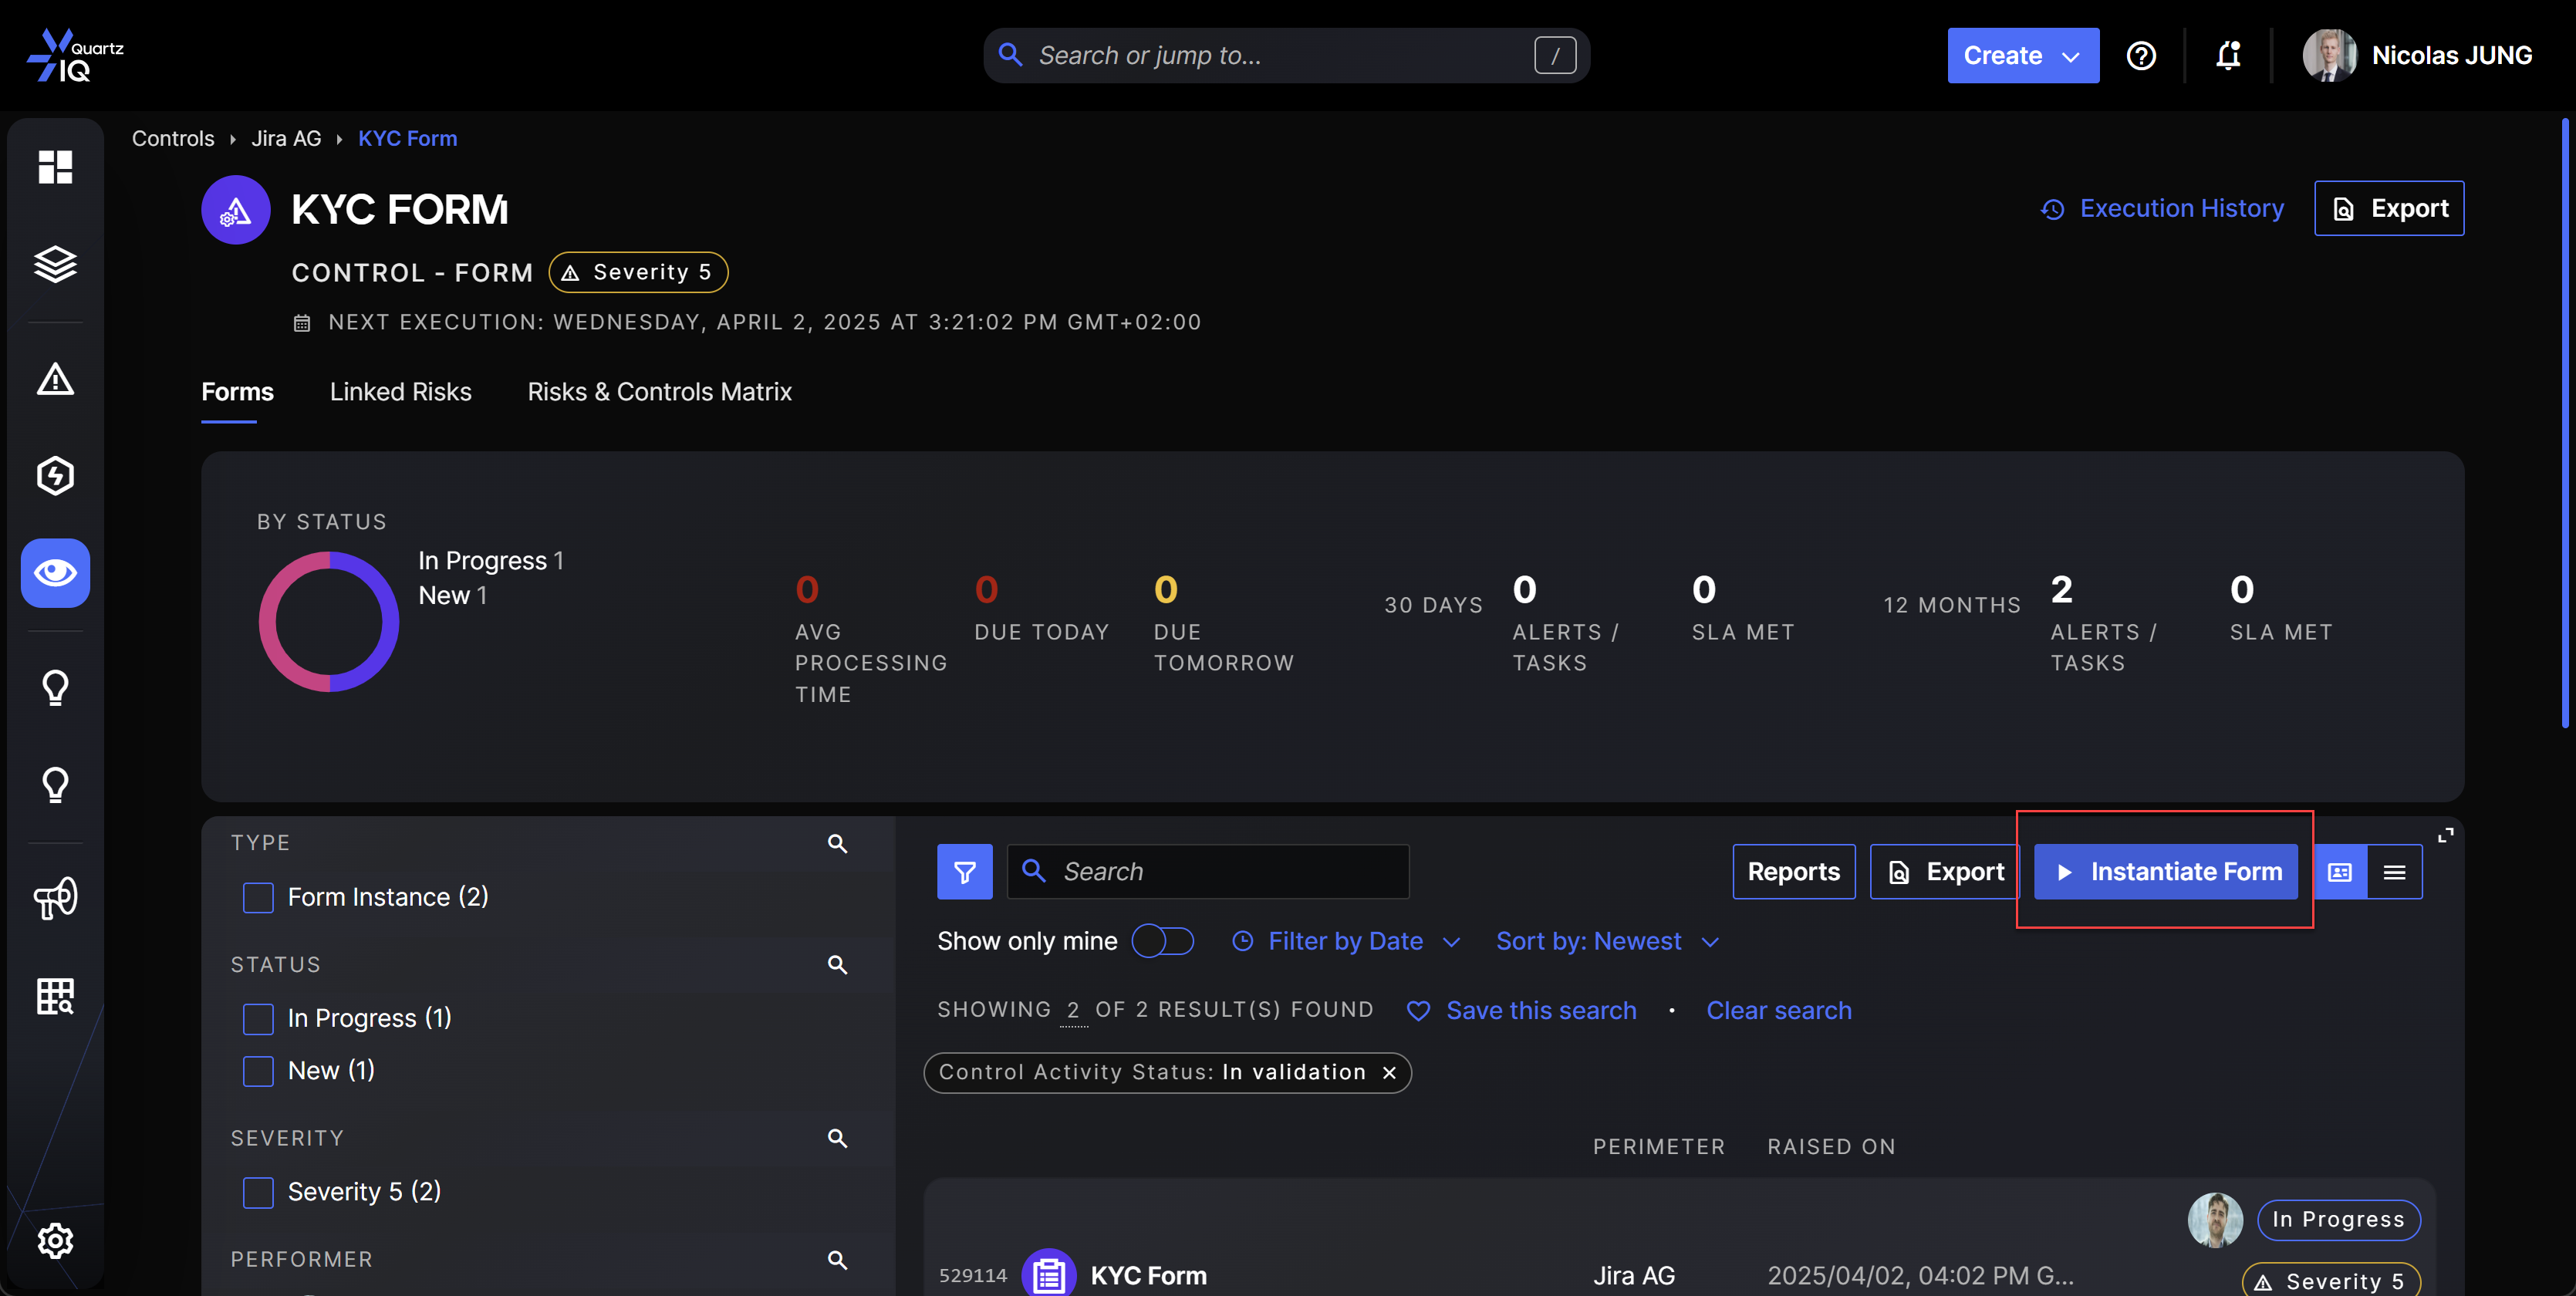
Once you have created you Control Form and edited the template, you can create a Form by going to the Control Form page in the Forms tab, and clicking the Instantiate Form button.
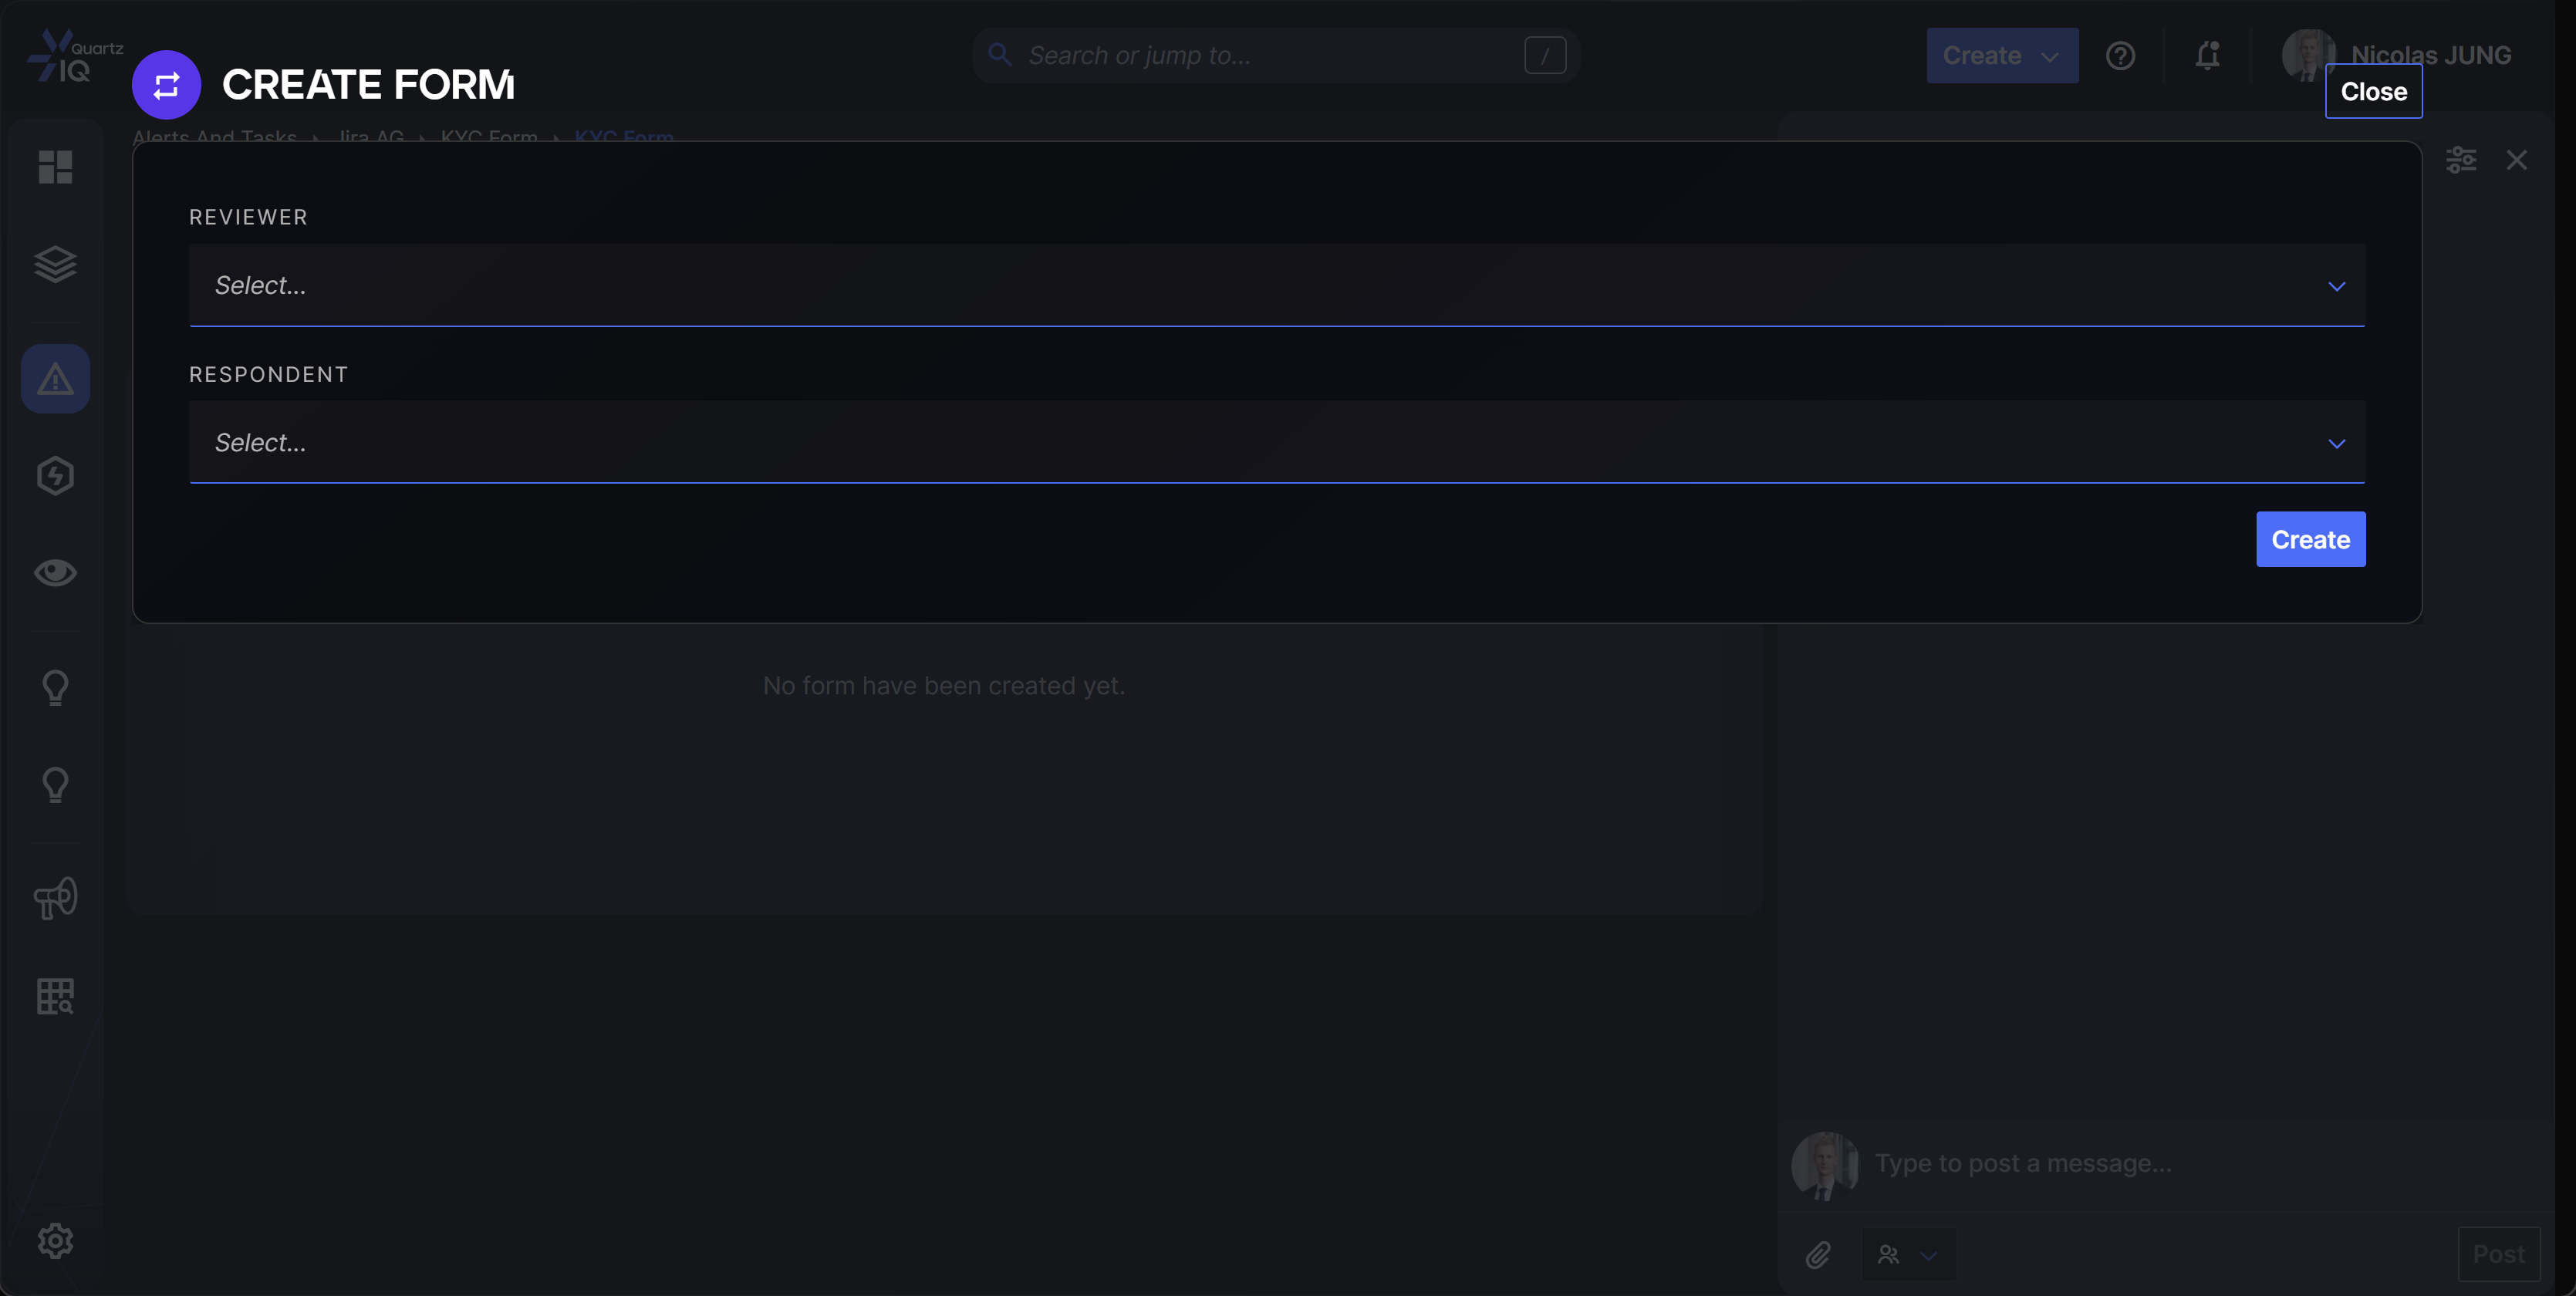
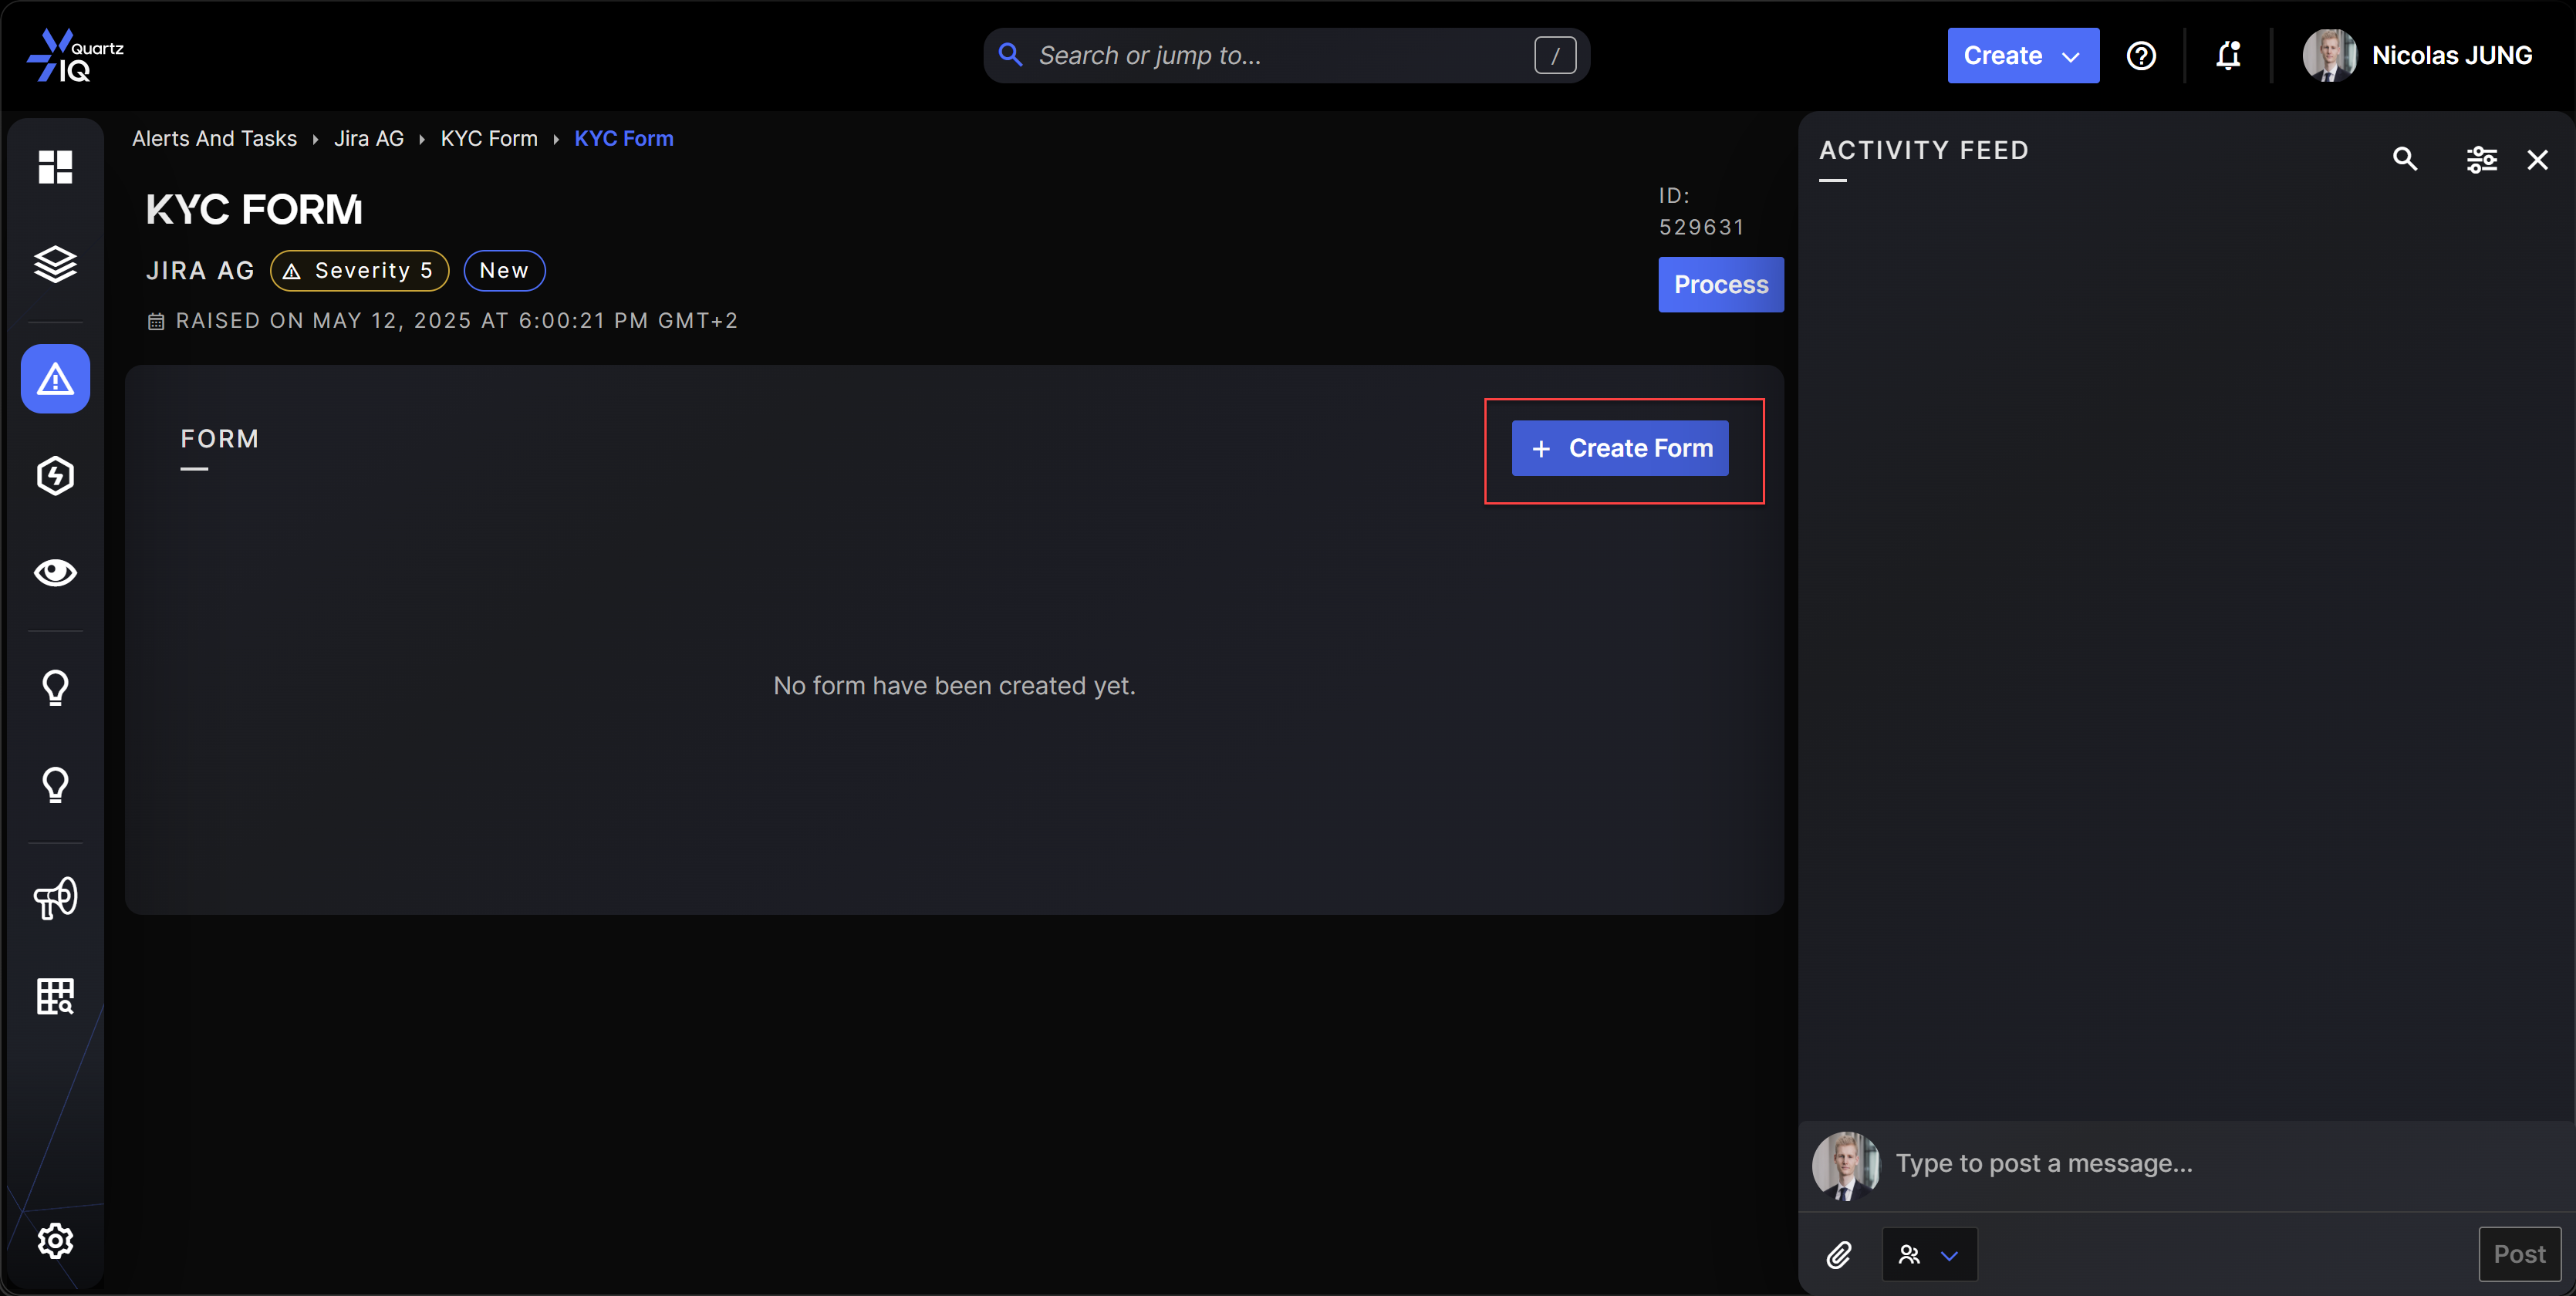
You will then be redirected on the Form instance page where you can click on Create Form.
Finally, you will be prompted for a selection for the Reviewer, the person who will be able to manage the Form and review it, and the Respondent, the person who will be invited to reply to the Form (via email). As of today, we do not yet support external users for this feature but this will come soon.